how to set timer on iphone camera
devsdash
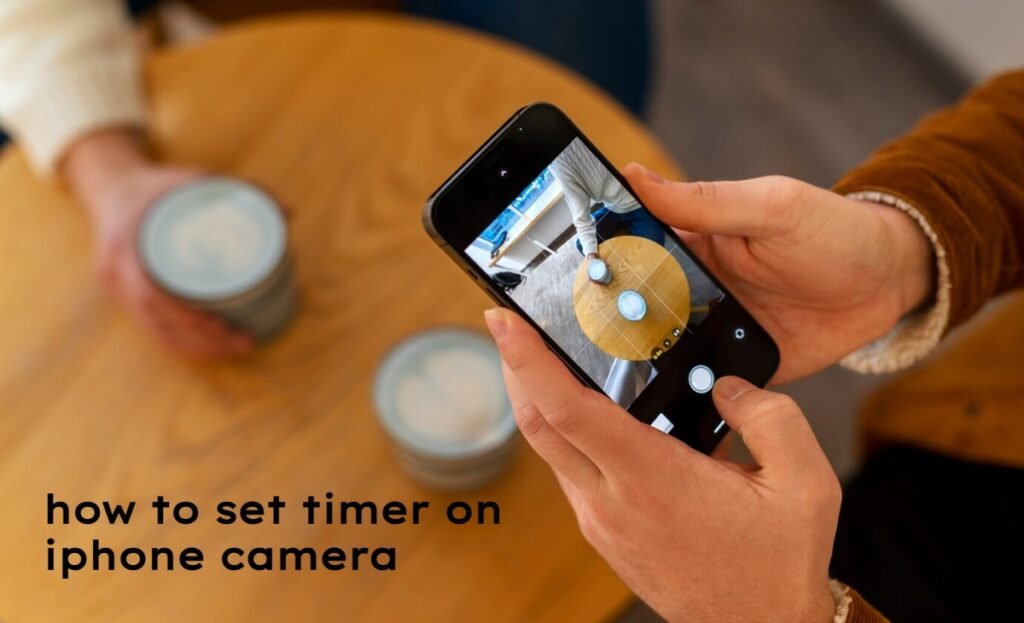
Are you ready to take your iPhone photography skills to the next level? The camera timer feature is a game changer, allowing you to snap stunning selfies and group photos without needing an extra pair of hands. Whether you’re capturing a picturesque landscape or documenting cherished moments with friends, mastering this handy tool can elevate your shots from ordinary to extraordinary. In this post, we’ll explore everything you need to know about using the camera timer on your iPhone like a pro. Get ready for some exciting tips that will have everyone asking how you took those amazing pictures!
Do iPhone Cameras Have a Timer?
Yes, iPhone cameras do come equipped with a timer feature. This handy tool allows you to set a countdown before your photo is taken. It’s perfect for capturing those candid moments or getting everyone in the frame without needing someone behind the lens.
You can typically find this option in the camera app, making it easy to access when you’re ready to shoot. The timer adds convenience and creativity to your photography experience, allowing you more freedom in composing shots.
Whether it’s a solo adventure or a group gathering, using the timer ensures that no one gets left out of picture-perfect memories.
How to Set the Timer on Your iPhone Camera
Setting the timer on your iPhone camera is a breeze. Start by opening the Camera app. Once you’re in, look for the clock icon at the top of your screen.
Tap on that icon, and you’ll see options to set a 3-second or 10-second countdown. Choose whichever suits your needs best. The longer option gives you more time to get into position without rushing.
After selecting your preferred timer duration, frame your shot as desired and hit the shutter button. Your iPhone will count down before capturing that perfect moment! It’s ideal for group photos or selfies where you want everyone included.
Does iPhone 11 Have a Camera Timer?
The iPhone 11 does indeed come equipped with a camera timer feature. This handy tool allows you to set your shots without needing someone else around to press the shutter button for you. It’s perfect for solo travelers or those who enjoy capturing candid moments.
You can easily access the timer by opening your camera app and tapping on the clock icon in the toolbar. Once selected, you’ll have options for a three- or ten-second delay, giving you just enough time to get into position.
This functionality enhances your photography experience, allowing for more creative compositions and group photos without any awkwardness. Enjoy experimenting with it!
Adjust the camera’s focus and exposure
To capture stunning images, adjusting the camera’s focus and exposure is essential. The iPhone allows you to tap on the screen where you want the focus to be sharpest. This simple action ensures your subject stands out beautifully against a blurred background.
Exposure controls how light or dark your photo appears. After setting the focus, slide your finger up or down on the sun icon that appears next to the focal point. This adjustment can brighten a dim scene or tone down harsh lighting for more balanced shots.
Experimenting with these settings will elevate your photography skills. Each environment presents different challenges, so playing around with focus and exposure enhances creativity in every snap.
Lock the exposure setting
Locking the exposure setting on your iPhone is a game-changer for capturing stunning photos. This feature allows you to maintain consistent brightness and contrast, even when lighting conditions vary in your shot.
To lock the exposure, simply tap and hold on the area of your photo where you want to set the focus. A yellow box will appear along with a sun icon that you can slide up or down to adjust brightness before locking it in place.
This technique is especially useful in high-contrast environments like bright outdoor scenes or dimly lit indoor spaces. With locked exposure, you’ll achieve more balanced and professional-looking images every time.
Turn the flash on or off
The flash function on your iPhone camera can significantly impact your photos, especially in low-light settings. You have the option to turn it on or off based on your needs. For instance, using flash during nighttime shots can brighten up details that would otherwise be lost in shadows.
Alternatively, turning the flash off allows you to capture more natural lighting effects. This is particularly useful for outdoor photography during golden hour when the sun casts a beautiful glow.
To toggle the flash setting, simply tap the lightning bolt icon located at the top left corner of your screen while in camera mode. It’s an easy way to ensure you’re getting exactly what you want from each shot.
Take a photo with a filter
Adding filters to your photos can elevate them instantly. The iPhone camera app offers various options, allowing you to enhance moods and colors effortlessly. You can choose from a range of pre-set filters that fit different photography styles.
To apply a filter, open the camera app and tap on the filter icon before capturing your shot. This way, you’ll see how the filter changes your image in real-time. It’s an exciting way to experiment with aesthetics.
Don’t hesitate to play around with multiple filters for different effects. Whether it’s creating a vintage vibe or boosting saturation, using filters makes each photo unique and personal.
Use a grid and level to straighten your shot
A grid can be a game changer for your iPhone photography. It helps you align your shots perfectly, ensuring that horizons are straight and subjects are centered. This feature is particularly useful when capturing landscapes or architectural details.
To enable the grid, head to Settings > Camera and toggle on the Grid option. Once activated, you’ll see a set of lines overlaying your camera viewfinder. These lines divide the screen into equal parts, guiding your composition.
Using these visual guidelines will enhance your framing skills over time. With practice, you’ll develop an eye for balance and symmetry in all your photos.
Where is timer option in camera
To find the timer option on your iPhone camera, open the Camera app. You’ll notice a simple layout with various icons at the top or side of your screen, depending on your orientation.
Look for the clock icon, which represents the timer feature. Tapping this will reveal options for setting it to either 3 seconds or 10 seconds. This is perfect for self-portraits or group photos where you want to be in the frame.
Once you’ve selected your desired time, position your iPhone and get ready for that perfect shot! The countdown will begin once you hit the shutter button.
Tips for taking photos from an iPhone using the timer
Using the timer feature on your iPhone camera opens up a world of creative possibilities. To make the most out of this functionality, consider these tips:
Think about lighting and location. Natural light can dramatically enhance your photos, so plan to shoot during golden hour for softer shadows and warmer tones.
Next, steady your phone using a tripod or a flat surface to avoid any shake when the shutter clicks. This is especially crucial for long exposures.
Experiment with angles—don’t be afraid to change your perspective by shooting from above or below eye level.
Practice patience! Allow yourself time between pressing the shutter button and stepping into frame; it might take several tries to get that perfect shot. With these techniques in mind, you’ll elevate not just your photography skills but also enjoy capturing memorable moments effortlessly.